King’s AgriSeeds Soil Sampling Guide
Soil Sampling GuideStep 1: Collecting the Sample
- Soil samples are typically taken from the top 6 inches of soil because a large amount of the root system is concentrated here. Taking a core of soil down to this depth in numerous places across the food plot will create the sample.
- The best way to take a soil sample is to use a soil probe, but most will not have access to them and they are expensive. Using a small trowel to take small cores of soil to ~6 inches deep is a good method. Do not scoop large amounts of soil with a shovel from one place to fill the sample box.
- To collect a representative sample, you should pull cores from all around the food plot. The image below shows an example of places in a food plot to pull a soil sample. A soil sample should be collected for each plot that is managed different than others (different plant species, different previous management such as limed vs. not limed areas, etc.). your total sample needs to be about 2 cups, but it does not hurt to take extra soil that can be discarded later.
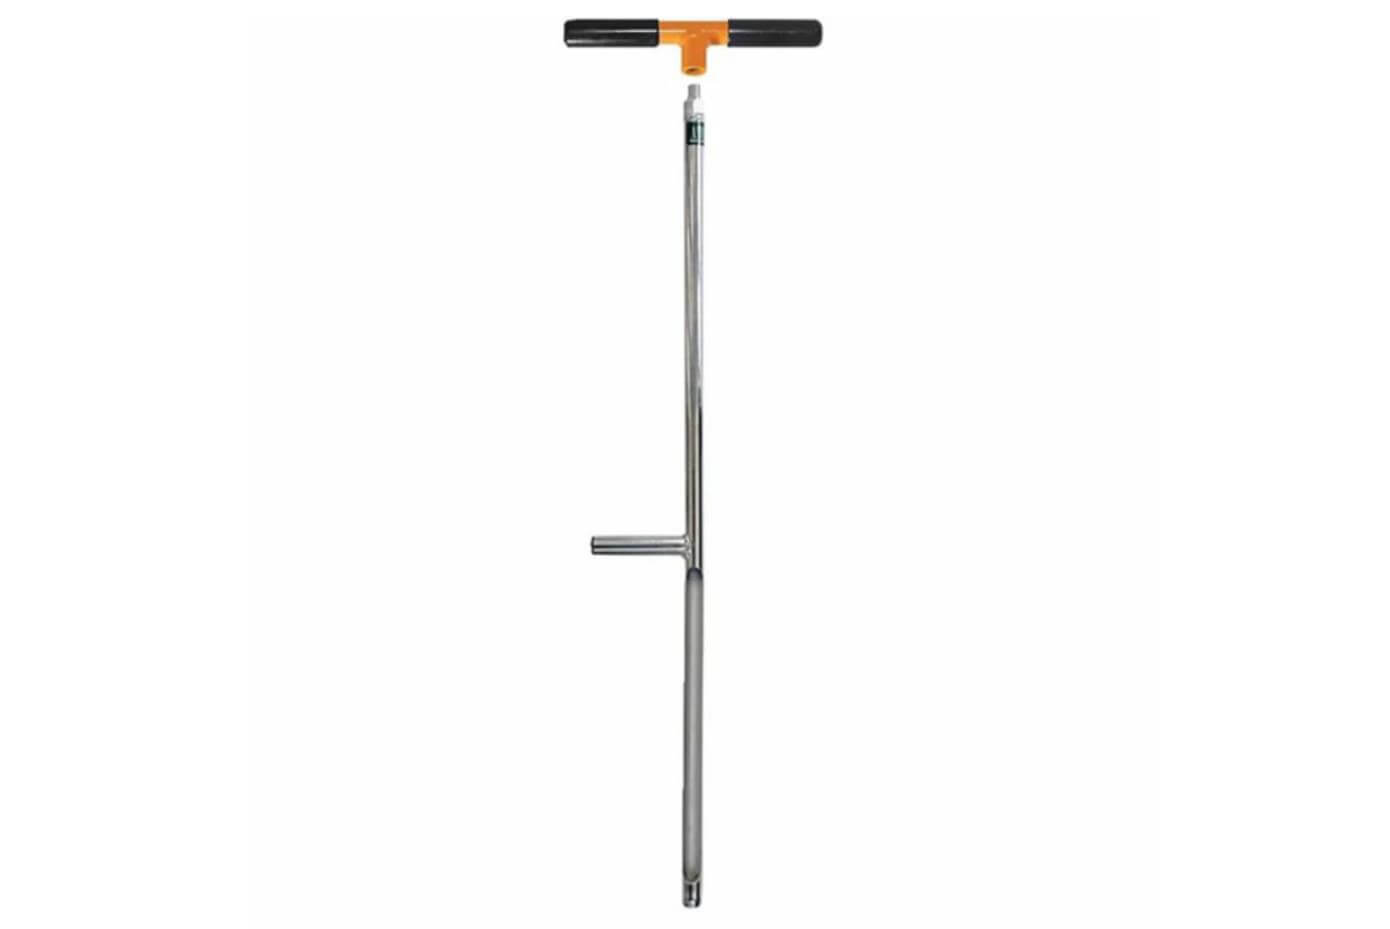
Soil probe.
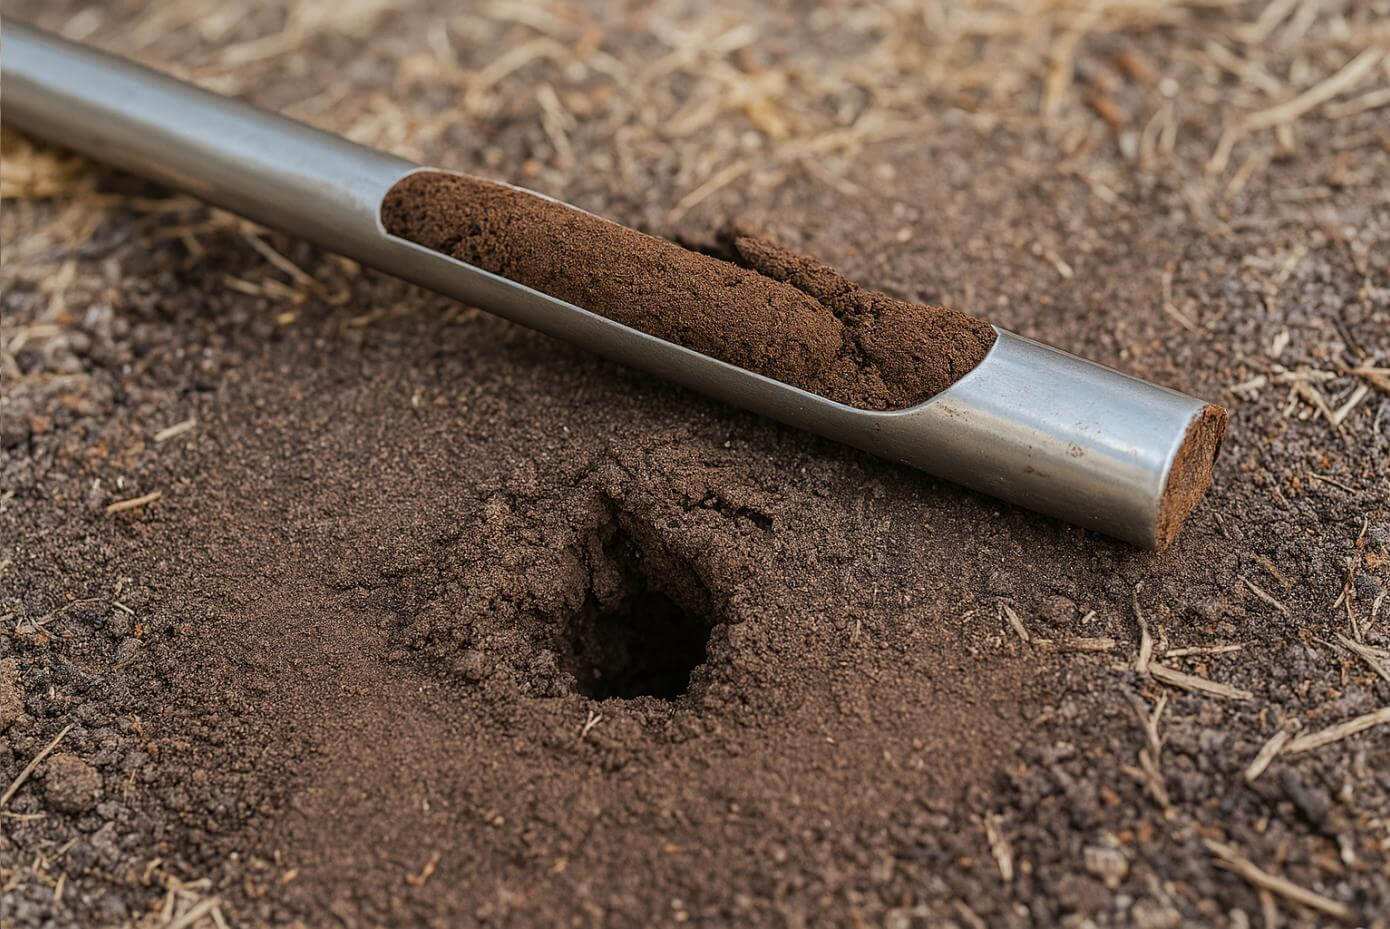
A soil probe after taking a sample.
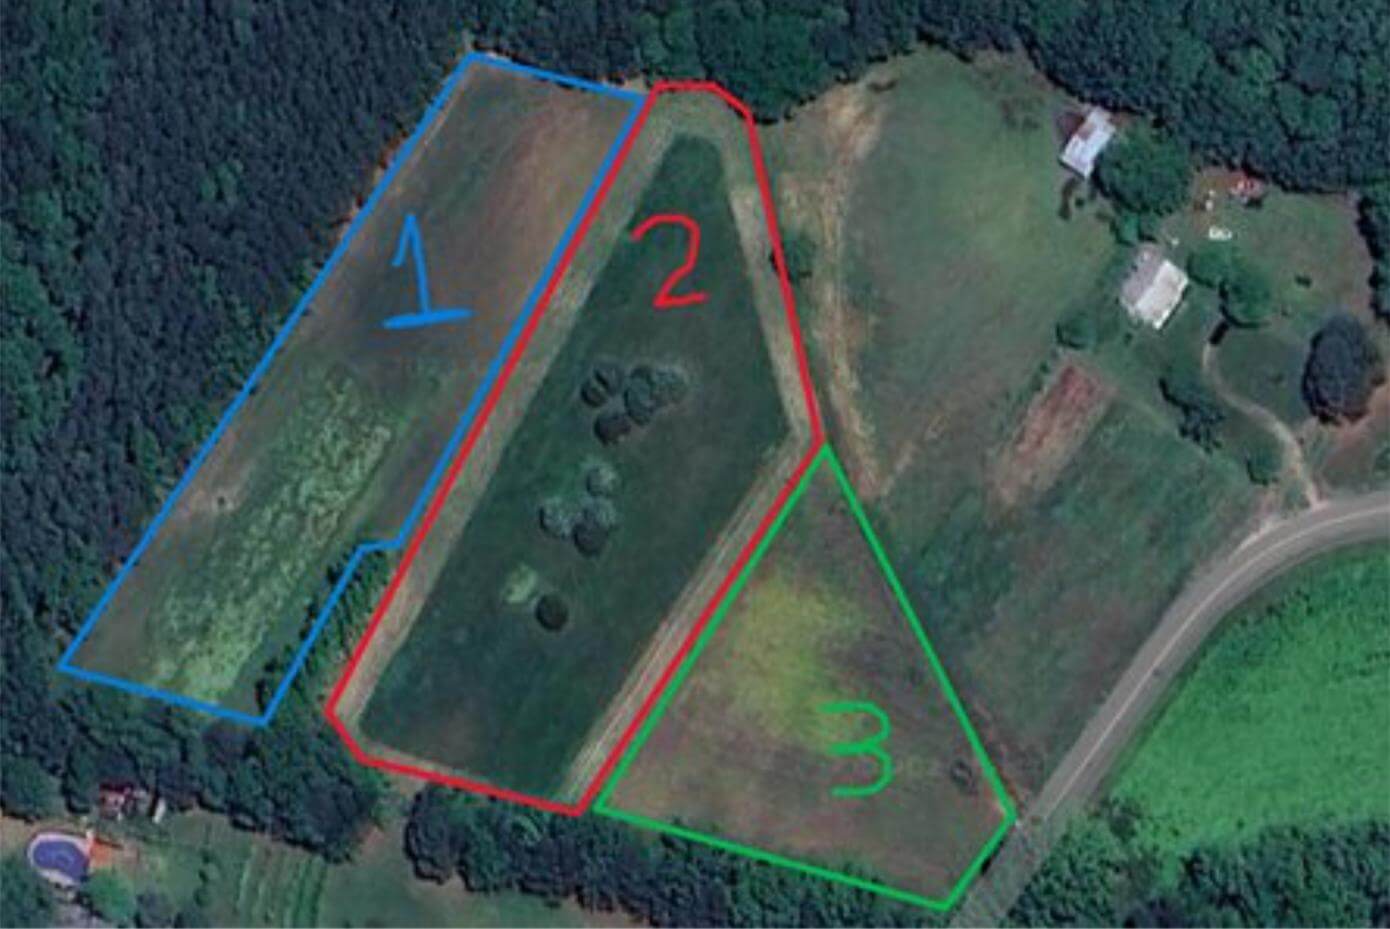
An example of places in a food plot to pull a soil sample.
Step 2: Submitting your Soil Sample
- Once you have collected your soil you will need to fill out a soil sample submittal form for the lab of your choice and place the soil sample into the lab container.
- Different labs have different forms and packaging for the samples, some shown below. Soil sample containers are normally available from your local extension office or the lab you plan on having your sample analyzed at.
- On the soil sample submittal form, be sure to mark the current or future crop to be grown on the soil along with previous management if asked for it.
- Once you have your soil sample and submittal form complete, mail off your sample and you will later receive information with recommendations on lime and fertility that should be applied to the field prior to planting.
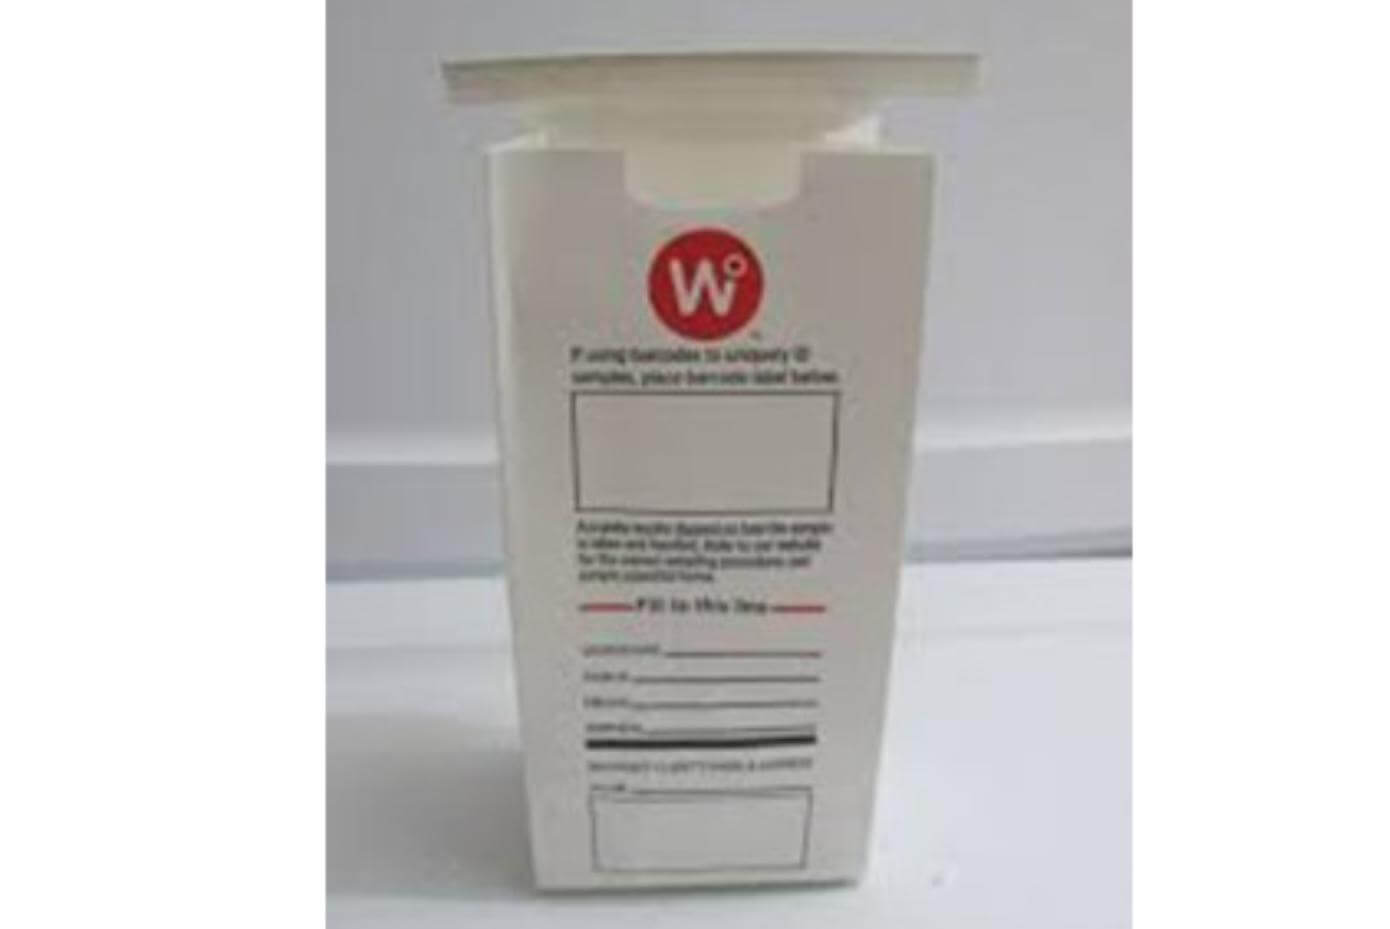
Example soil sample container.
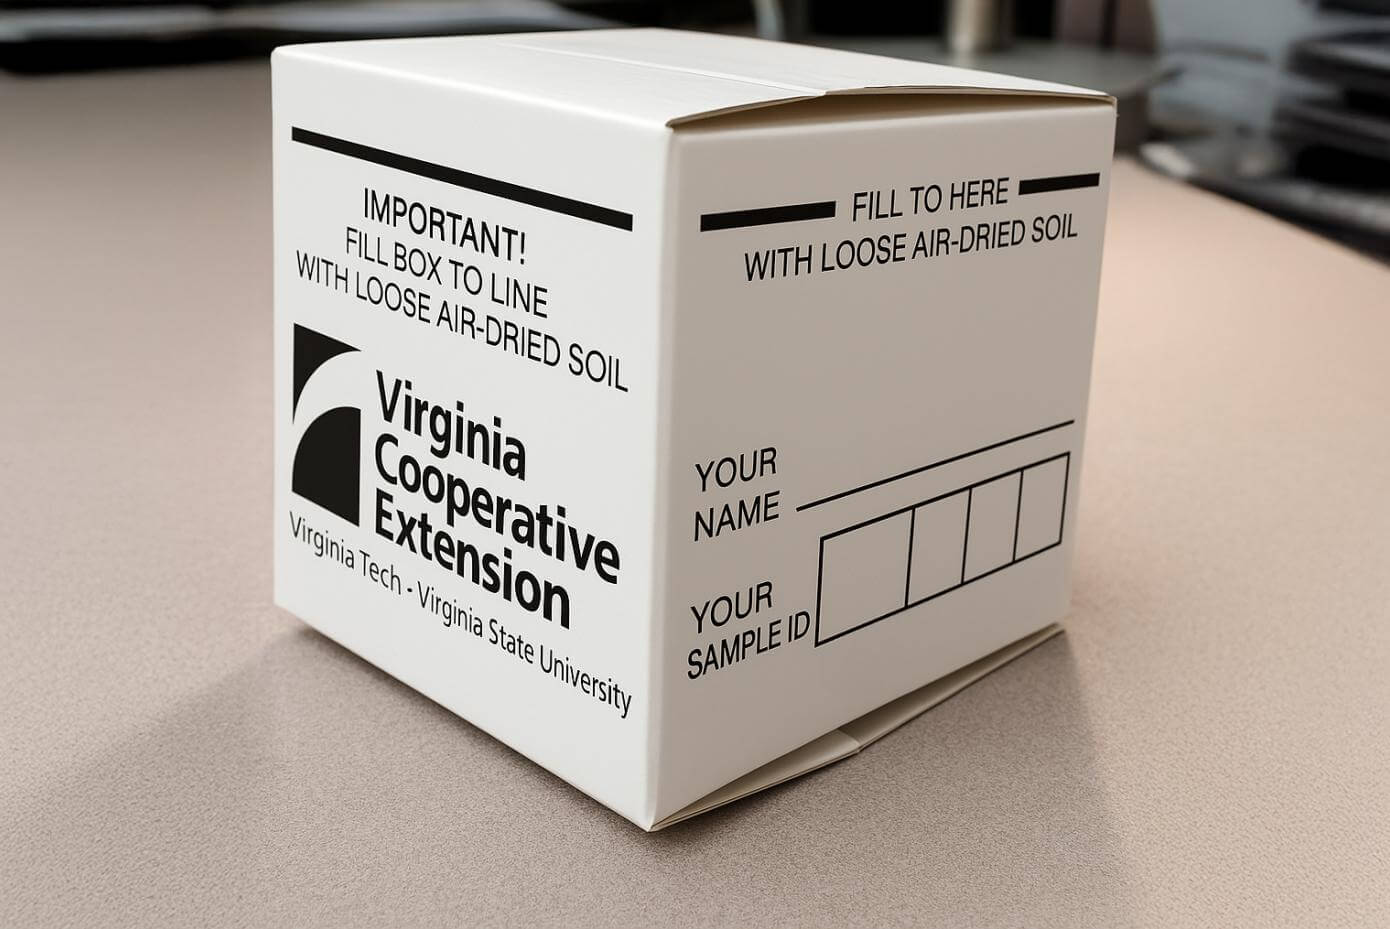
Example soil sample container.